How to make candles
A guide into understanding the candle industry.
Making candles can be overwhelming with all the tricks and tips out there! We're here to help by sharing our experience and making the candle-making process feel a lot less daunting.
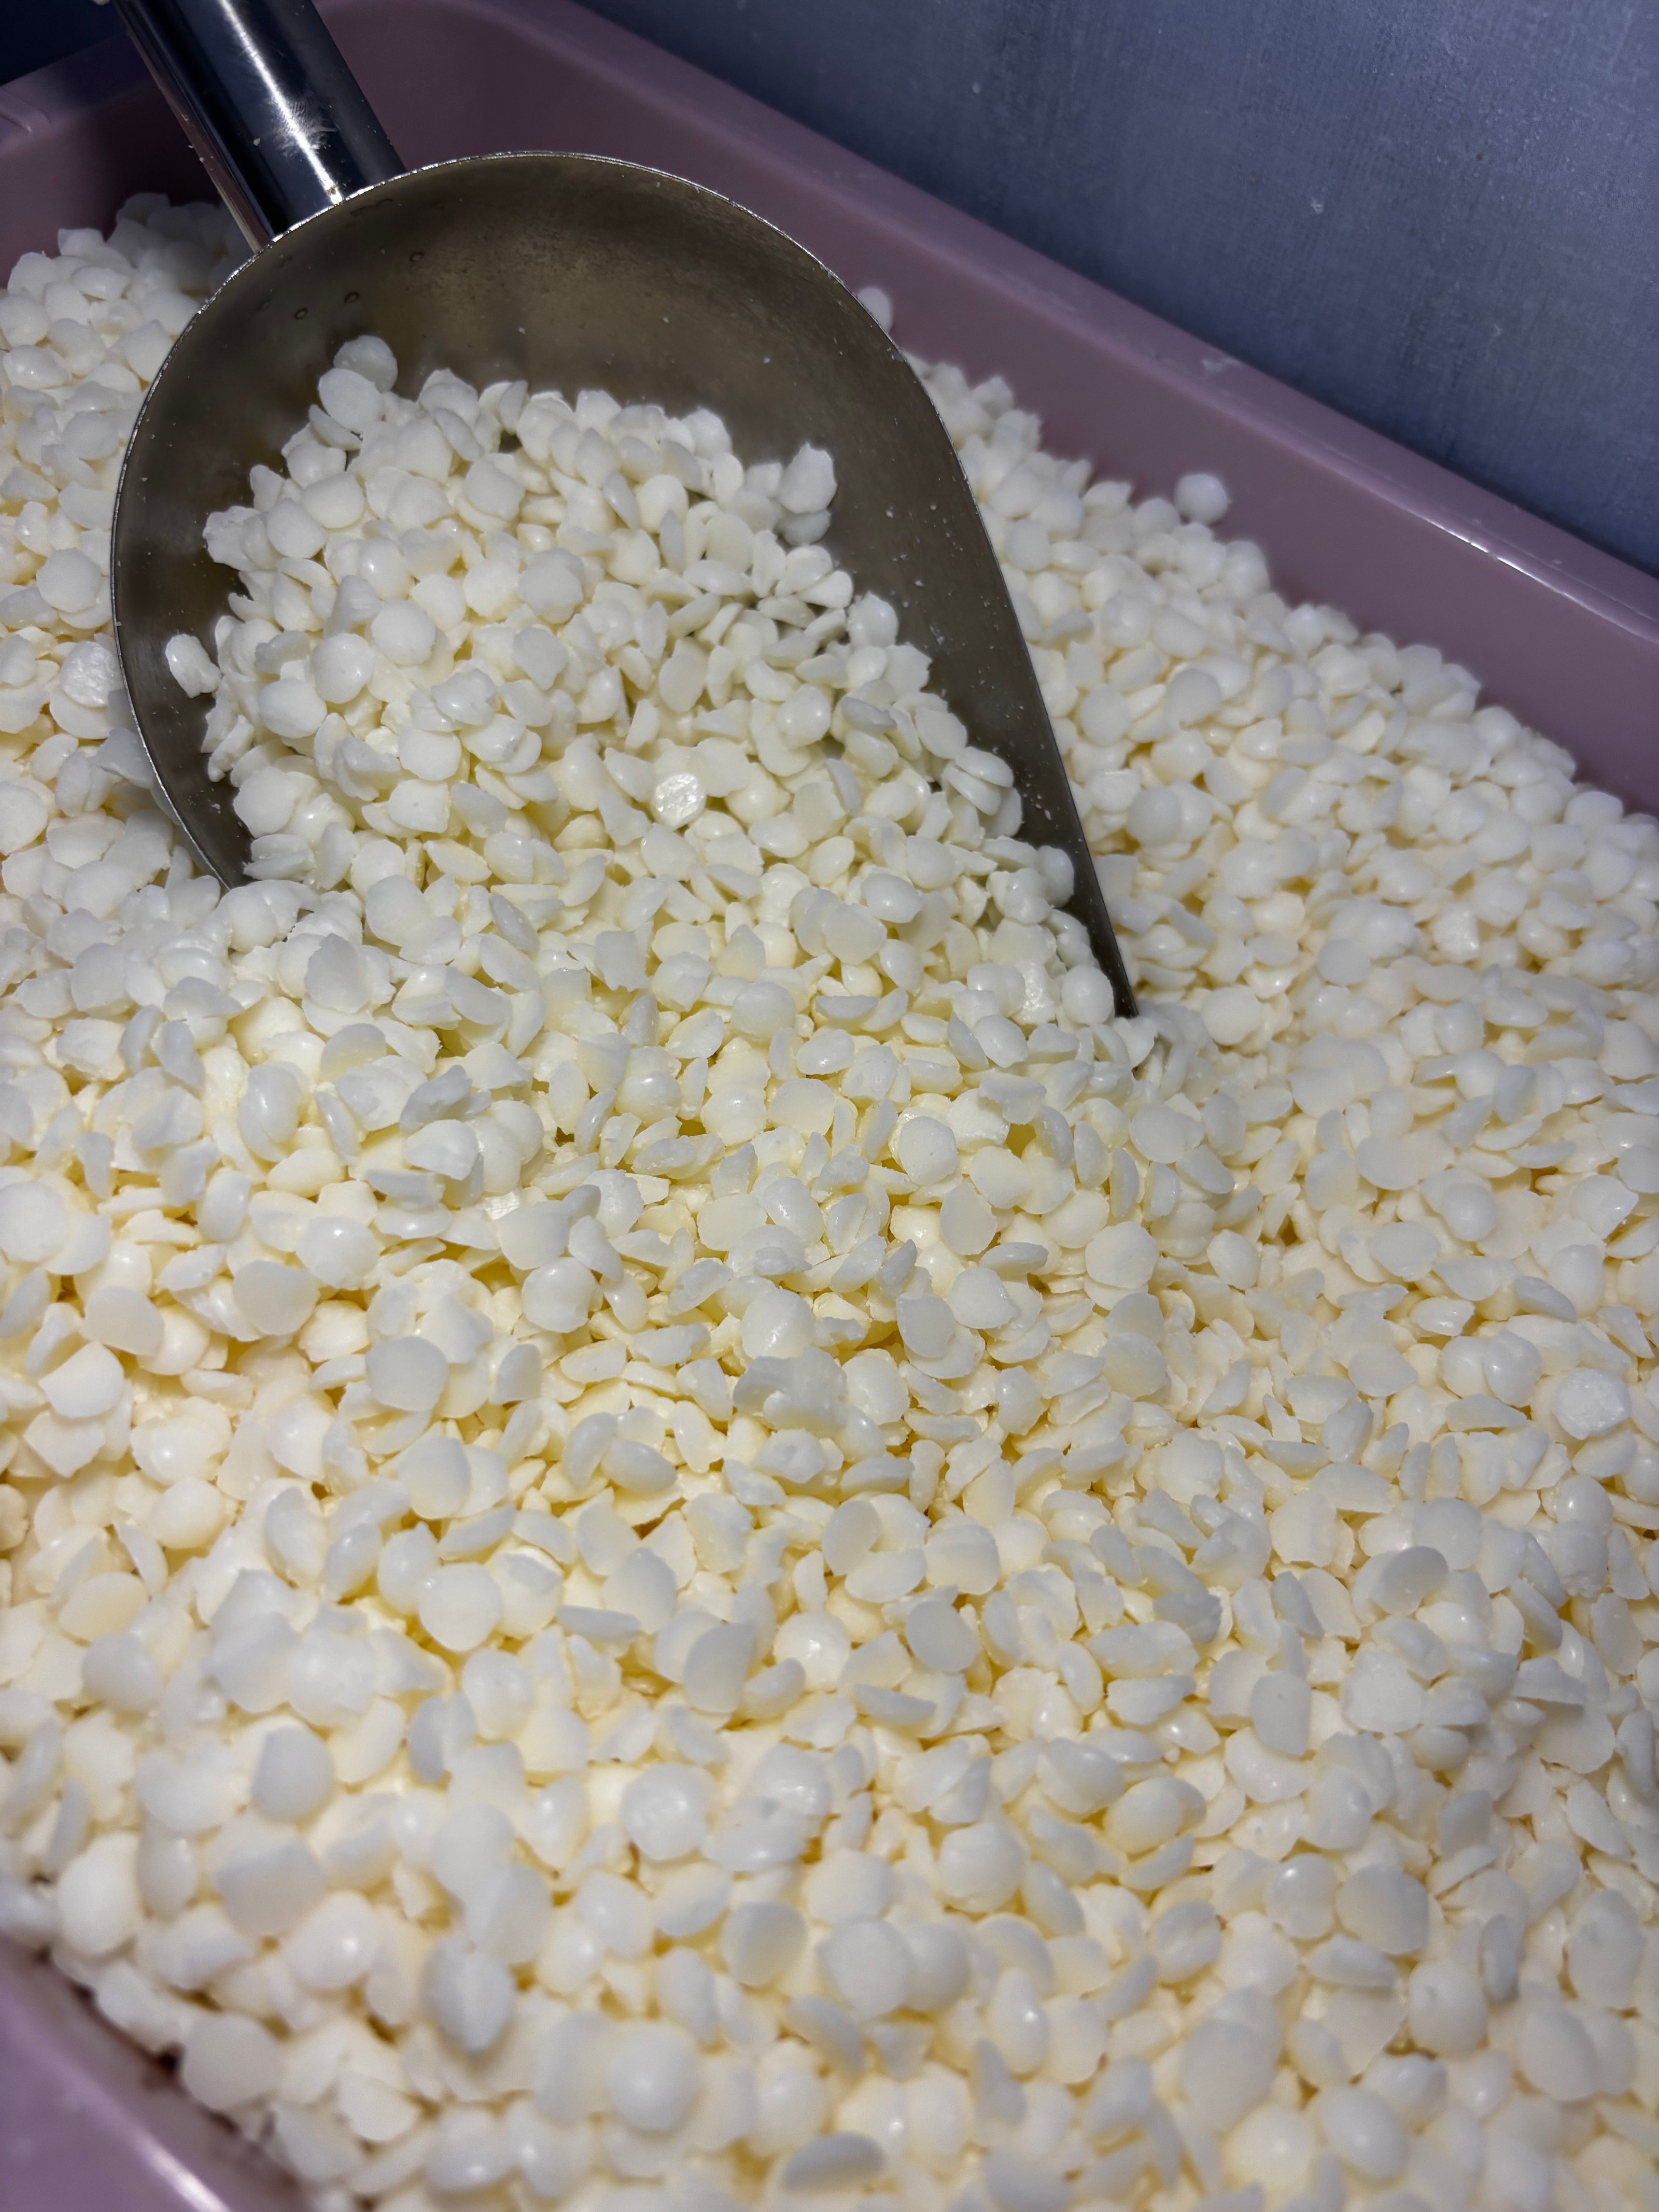
Step 1 - Choose Your Wax
Choosing the right wax is key to making the perfect candle. Here’s a breakdown of the most popular types:
Soy Wax
Benefits:
Eco-friendly, biodegradable, and renewable.
Burns cleanly with minimal soot.
Longer burn time and great for beginners due to its lower melting point.
Holds and distributes fragrance well.
Disadvantages:
Can be softer, requiring blending with other waxes for firmer candles.
May develop a frosty appearance on the surface.
Paraffin Wax
Benefits:
Affordable and widely available.
Holds fragrance well and produces a smooth, glossy finish.
Burns fast, making it ideal for pillar candles.
Disadvantages:
Derived from petroleum, not eco-friendly.
Produces more soot and has a shorter burn time.
Beeswax
Benefits:
Natural, long-lasting, and burns cleanly.
Purifies the air and has a natural, subtle honey scent.
Disadvantages:
More expensive and harder to work with.
Doesn’t hold fragrance oils as well as soy or paraffin.
Each wax has its own benefits and trade-offs, so choose based on your goals for burn time, scent, and eco-friendliness!
We use soy wax in all of our candles - though i have not tried beeswax or paraffin i found soy wax the most popular and never had a problem with it.
Once you've chosen your wax here comes the fun part! Making candles!
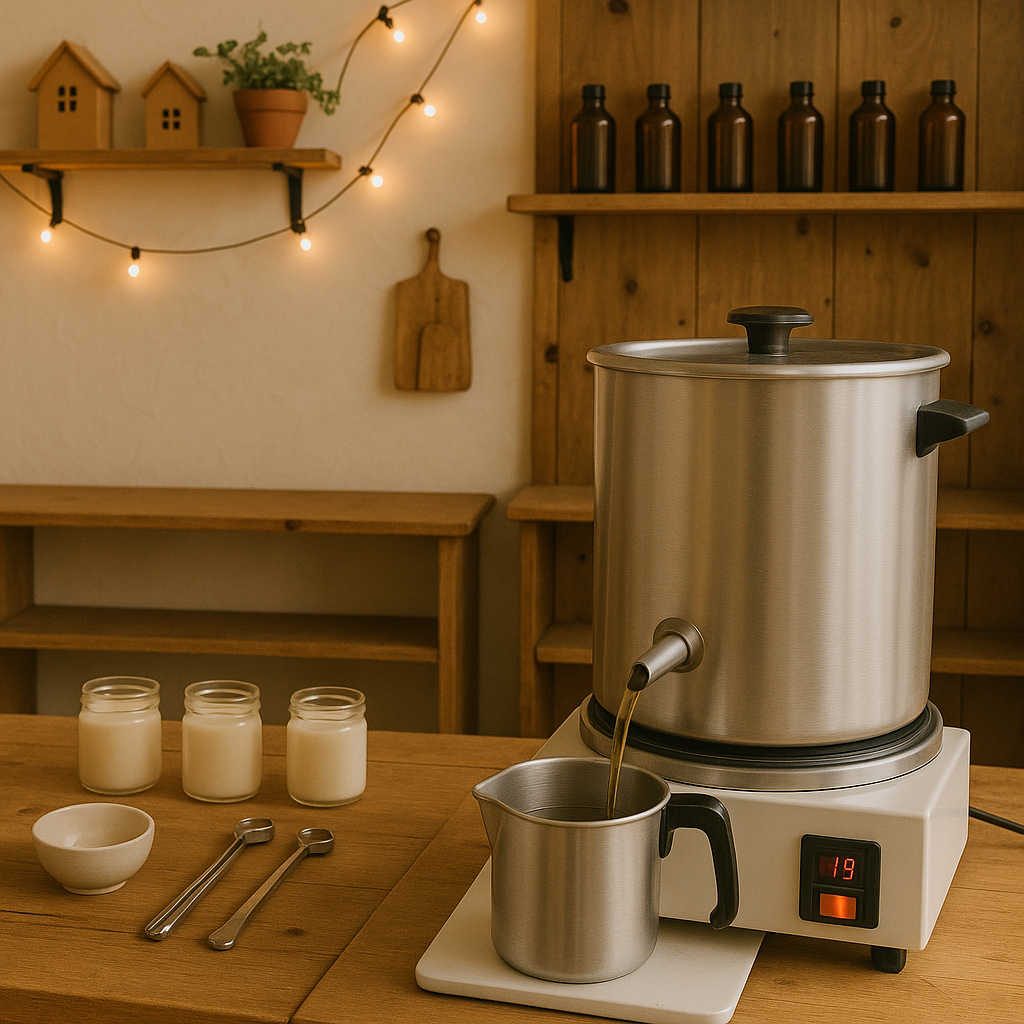
Step 1 - Melt the Wax. There are several ways to do this:
Stove, Microwave, Candle Wax Melter, or a Wax Melter designed for waxing.
We initially used a waxing-specific melter, (the ones in beauty salons) which worked well at first. However, as we started making more candles, we found it too slow, as it takes longer to heat up. While it’s a good option for beginners, you may want to consider a faster method once you’re making larger batches.
Tips: Always melt your wax at a low temperature rather than using high heat. Melting it slowly helps prevent burning, which can cause issues when adding fragrance and colouring. I found this was especially true with my body candles, as the wax was visible and more sensitive to heat.
Step 2 - Temperature
Check your temperature with a thermometer. Its important to do this for a few reasons.
1.Melt your wax at a low temperature, not too high.
2.Add colour and fragrance at the correct temperature.
3.Pour the wax at the recommended temperature.
All information for the wax will be on the description and remember these are guide times. Its best to make notes as you make candles so that you can refer back to them in the future.
Step 3 - Adding fragrance/colour
When adding fragrance, it’s important not to overdo it. Some people think more fragrance means a stronger scent, but that’s not the case. Wax can only hold a certain amount of fragrance—if your candle can hold 6% but you add 10%, the extra 4% won’t enhance the scent and will just be wasted.
Fragrance descriptions usually provide guidelines on the recommended starting percentage and the maximum you can use. Normally they are 6-10%.
How to calculate - If your candle uses 150g of wax and you are using 10% fragrance, you would need 15g of fragrance oil therefore you would only add in 135g of wax to make the full amount of liquid add up to 150g
Colouring - there are a few different ways to colour your candles depending on preference. Liquid dye, beko chips and mica powders.
I personally like to use liquid dye as i just found it the easiest and i was happy with the results. You always want to use colouring that's been specifically tested to work with wax. I don't recommend adding dyes that haven't been tested with wax.
Always make sure you've mixed all the fragrance and colour in well before completing the next steps
Step 4 - Wick
Different wicks will affect your candle burning. This can be a very long process when finding the correct wick size. (we know this from our own experience)
When purchasing wicks there are different types of material used that are best suited with the difference wax. There are different sizes depending on the size of the candle.
Lets break down what the names mean. TCR/2, TCR/4, TCR/6, TCR/8 etc..
The first letters/word are the make/design of the wick. The number is the size, the higher the number the bigger wick.
All wicks will have a guide to say what size candle is recommended with each wick size now remember this is only a guide and your testing could have slightly different results.
The best way to find your wick size is by performing a burn test. A burn test will help you decide which candle wick is best suited for your candle. Click here for more details on how best to perform a burn test.
Centre your wick in the middle of your candle pot and use a centering tool to keep your wick straight.
Step 5 - Pour your wax
Carefully pour the wax into your candle pot and allow it to set. Avoid moving the candle during this process, as it can affect how the ingredients bind together. For the best results, let the candle sit for 48 hours before lighting it to ensure that all the ingredients have fully blended.
Step 6 - Trim your wick
Trim your wick to the desired length - ideally 5cm.
Your candle is now ready to burn.